
I can think of few things more irritating than ill-fitting earplugs when trying to enjoy a nice day on the range. Radians can sympathize, so they brought out a custom molded earplug kit that allows you to enjoy a custom molded earplug for a fraction of what typical custom plugs cost. I admit it—I am a bit excited to take a look at the Radians custom molded earplugs!
The Radians custom earplugs come in several colors such as blue, pink, tan, and orange. I got a chance to check out the blue, which is okay with me since it is my favorite color at the moment.
Looking at the impressive list of features on the Radians website, you really get a feel for how fast and easy it is to mold the earplugs.
- Molds in 10 minutes.
- Soft, permanent custom fit.
- No mess.
- All day comfort.
- Simple, easy to follow instructions.
- Safe, non-toxic and hypoallergenic silicone.
- Environmentally friendly hearing protection.
- Long lasting and washable.
- Made in the USA.
- NRR 26 dB
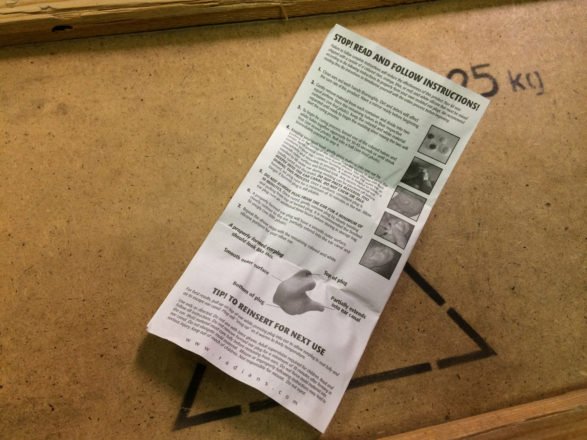
I started by pulling out the contents of the box and found the two components needed to make the earplugs packaged in nice plastic containers to keep the components fresh and malleable. Radians saw fit to remind you that you really should read the instructions. Before you forgo the instructions, take a moment to think of Tim Tailor and visualize yourself as being as unlucky as he always seemed to be.


Read the instructions! I found them to be well laid out in plain English; as long as you follow them carefully, you shouldn’t have any issue creating some nice earplugs.
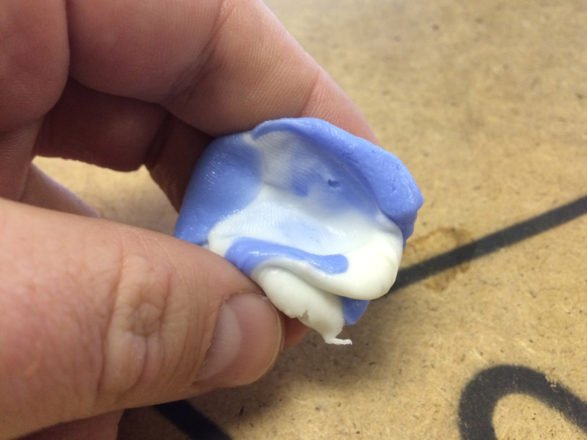
The instructions tell you to divide the material up into two equal parts then mix the two together by kneading them like dough. I used my trusty Kershaw knife to divide them up cleanly. I might have to review the knife for you guys at a later date, it really is outstanding.

Kneading the material to mix it is rather easy and only takes about 45 seconds. The goal is to make it a uniform color free of streaks.
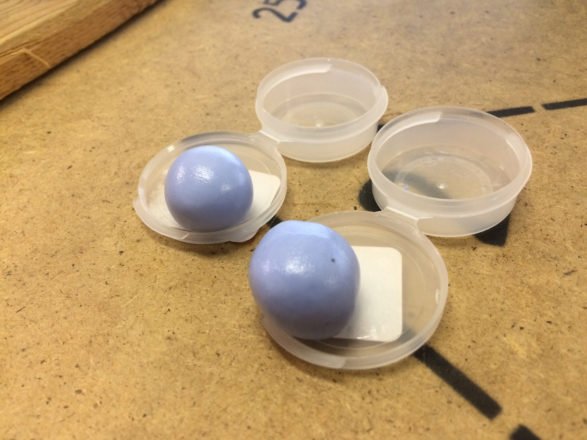
After you knead the material, the instructions state that you should roll it into a ball before proceeding to the next step. Just like Mom used to make meatballs, I made some earballs.
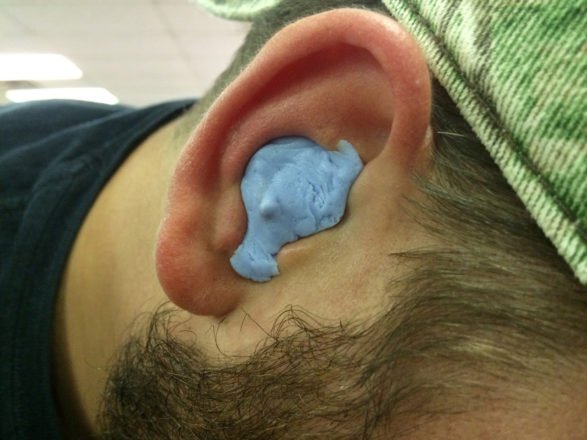
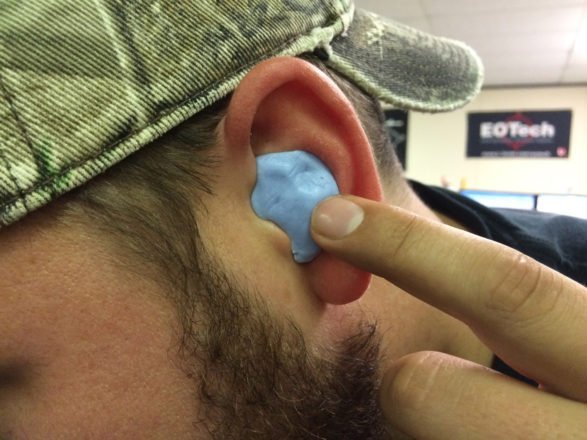
The next step in the process is to place the “earball” in your ear and press the center into your ear canal. The instructions are more descriptive, so please read them.

Once you get the material worked into the ear properly, I highly recommend adding a little nipple (for lack of a better word) to the center of the plug in order to give yourself something to get a hold of.
Now for the left ear. I was having a hard time hearing my boss at this point, seems like they were already doing a great job! Maybe I should wear them more often?
Don’t forget the nipple!
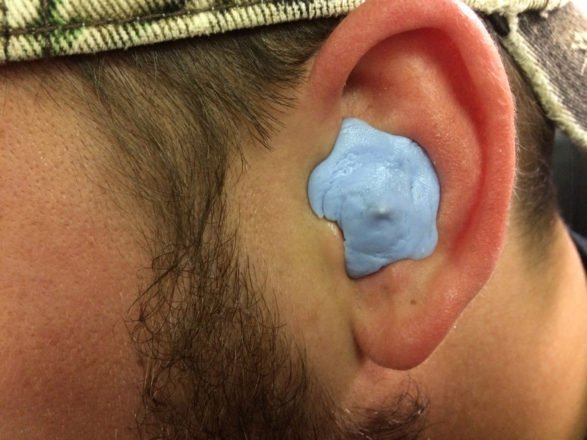
The Radians came out looking pretty respectable considering I put them in without a mirror (I didn’t follow the instructions)

After running to the range to try the Radians out I found them to provide ample hearing protection while being incredibly comfortable. If you are in need of some earplugs, you should take a close look at the Custom Molded Earplugs from Radians. They are rather reasonably priced and do a wonderful job at providing hearing protection.
This post originally was run on The Shooter’s Log – http://blog.cheaperthandirt.com/custom-molded-earplugs-price/
Be the first to comment